How to: Build your portfolio website fast with Webydo
Starting out your career in any creative field is quite challenging. Whether you are looking to get hired or to try your luck freelancing, you will need a solid portfolio. I won’t get into detail on what that should include or how you will find the first projects to display, but I will guide you on your website design step by step using Webydo. Furthermore we won’t write a single line of code to achieve that!
Hope you are eager to get started!
First Steps
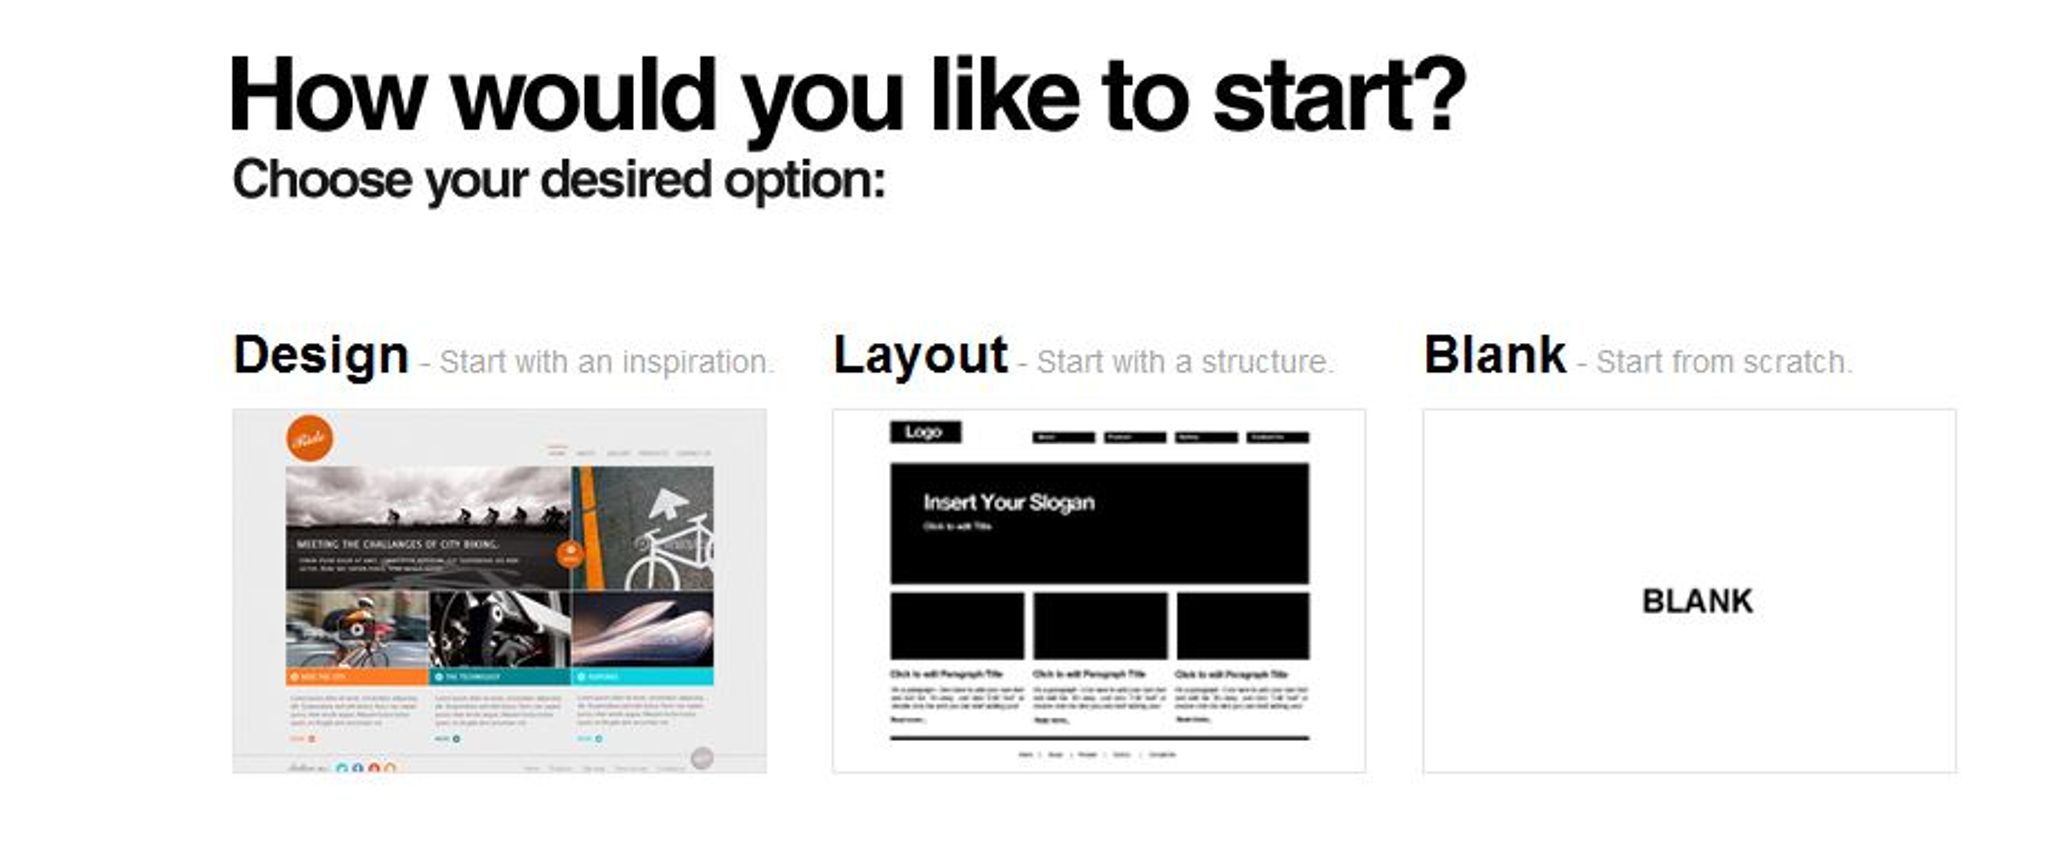
Setting up an account at Webydo is a very easy and fast process. And after you finish you will be prompted to select how you’d like to begin:
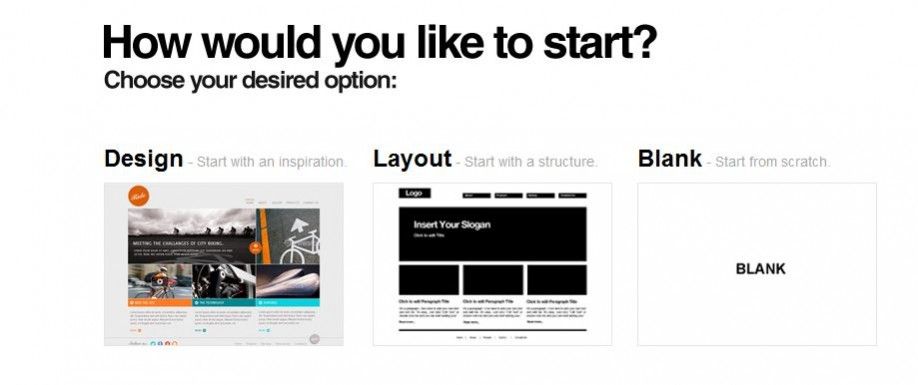
For the purposes of this tutorial we’ll select “Layout”. That will give us 4 layout templates to begin our project with.
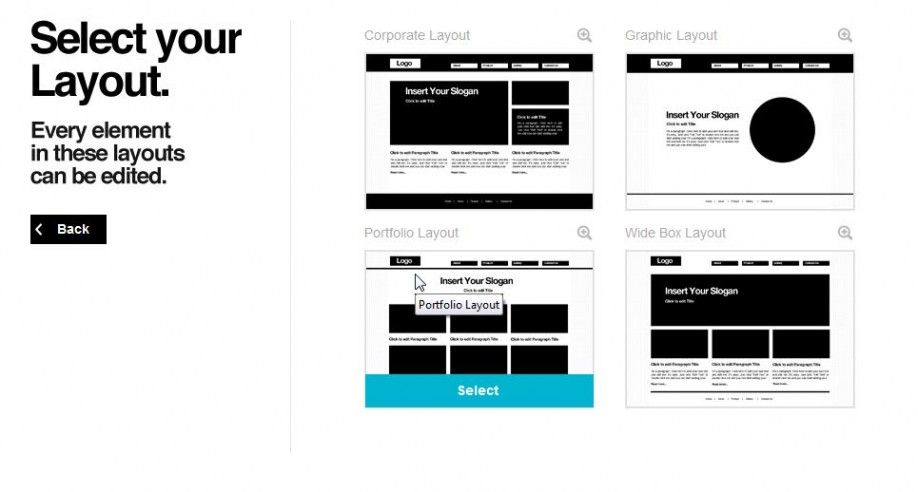
Go ahead and select the portfolio layout. This will load for us the editor we’ll be working on, with the standard portfolio structure ready.
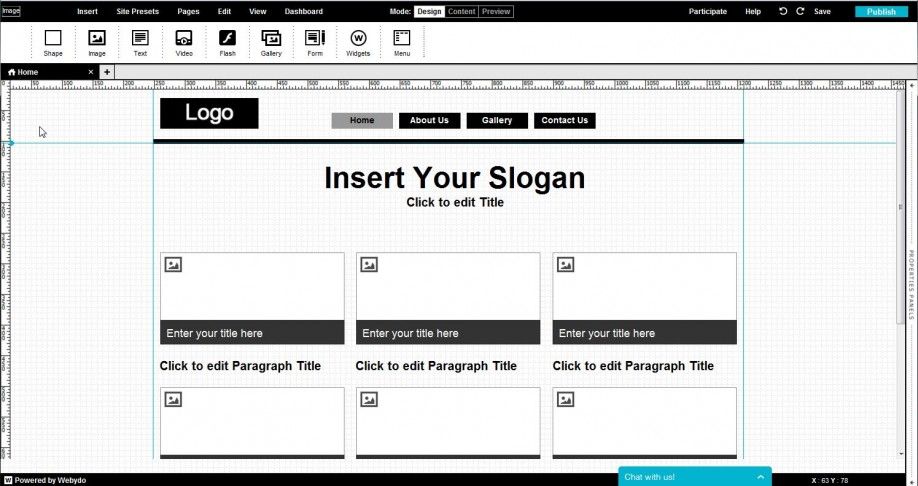
Customizing your Portfolio
Let’s begin customizing our portfolio website by visiting “Site presets”.
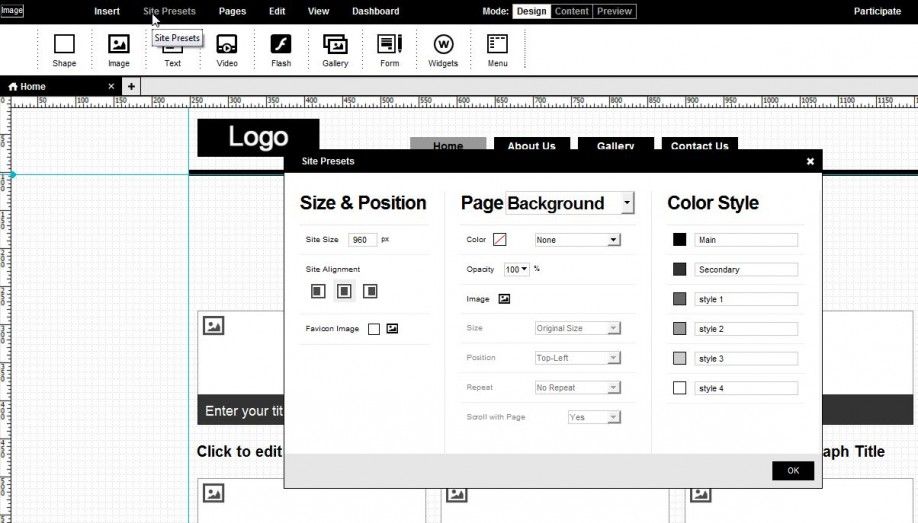
Through here we can select some site wide options for our portfolio.
Let’s leave the site size and alignment as is. We’ll go select a favicon, by clicking the small image icon, next to “Favicon Image”.
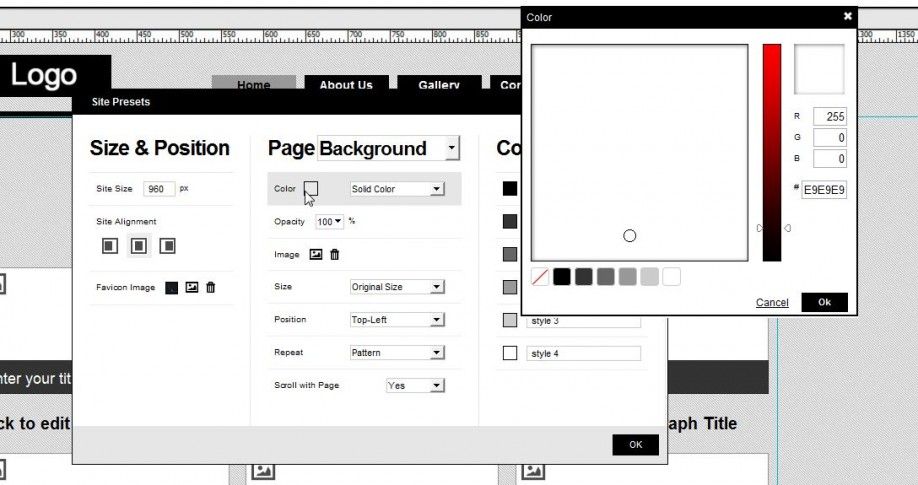
Next we can select a background for our page. Click on the pull down menu next to color, and select “Solid Color”, also click on the color swatch and set it to #e9e9e9.
To set a background you can click on the small image icon, next to the text image, and select the image you will use for the background. I selected a small pattern image with diagonal lines, which we can repeat to fill out the whole background.
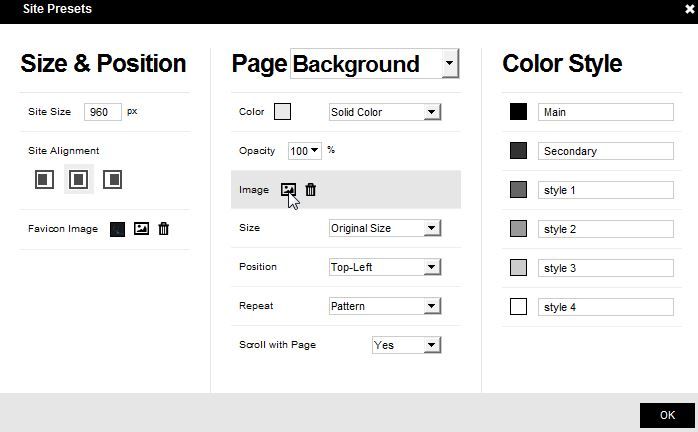
Here we can also set the generic color styles. I changed my main color to #333333 by clicking on the swatch next to it, and the secondary to #222222. You can create 4 additional color styles if you like.
After you finish, click “ok” to close these settings. We can come back to them if necessary at any time of the process, by visiting the “site presets” menu option.
Adding your content
Let’s now place our logo. Click on the logo rectangle, and then the interface will change to give you a property bar on top of your page. From there we can set the image dimensions, and add our image.
Click “Change” and that will prompt you to select the image file.

Here we can also specify a title and alt attribute to our image, as well as if it links to a page of our website or not.
Let’s now set the menu. Click on any menu item. This will give some new options both in the top and right panel.

From the top panel you can choose options that affect the whole menu, and from the right panel affect each menu item individually.
I will leave the menu alone for now. And we get back to it after we finish with our homepage.
Double Click on the Text “Insert your slogan”.

Here we can modify the text and add our slogan. Notice how the top panel adjusted to give us options that relate to the selected object. So always keep that in mind as you explore the editor’s interface.
Try to find a catchy slogan to use here. You can easily adjust font, size and colors from the top panel.
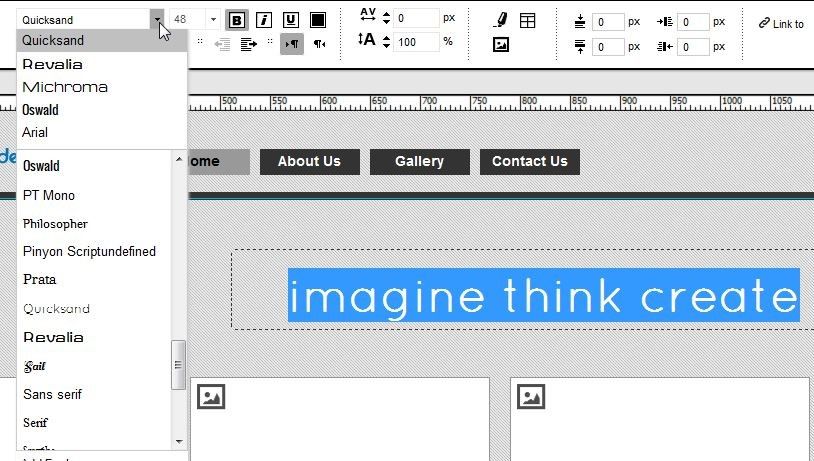
When you finish you can click outside and the changes will take effect. You can move any element on the page with the mouse or the arrow keys.
Now let’s add our portfolio projects!
To do that, we simply double click at an image placeholder. Then select the image. Notice that the placeholders are 300x150px so you might think to crop your thumbnails at this size. Don’t!
If you use a larger image, you can change its dimensions from the top panel after it is placed to fit or match the container size. Clicking any of these thumbnails after the site is launched will open the full image in lightbox mode.
In order to edit the captions and the text below your thumbnails you simply double click them. And to delete elements you don’t need simply hit the delete key. The choices for editing these texts are similar with those on the slogan we set not long ago.
You can preview your website at any time by clicking “Preview” on the black top menu. Then click “Design” to get back to editing your website.
After all the thumbnail slots have been filled, If you need to add more projects to the home page you can create some space by moving the footer.
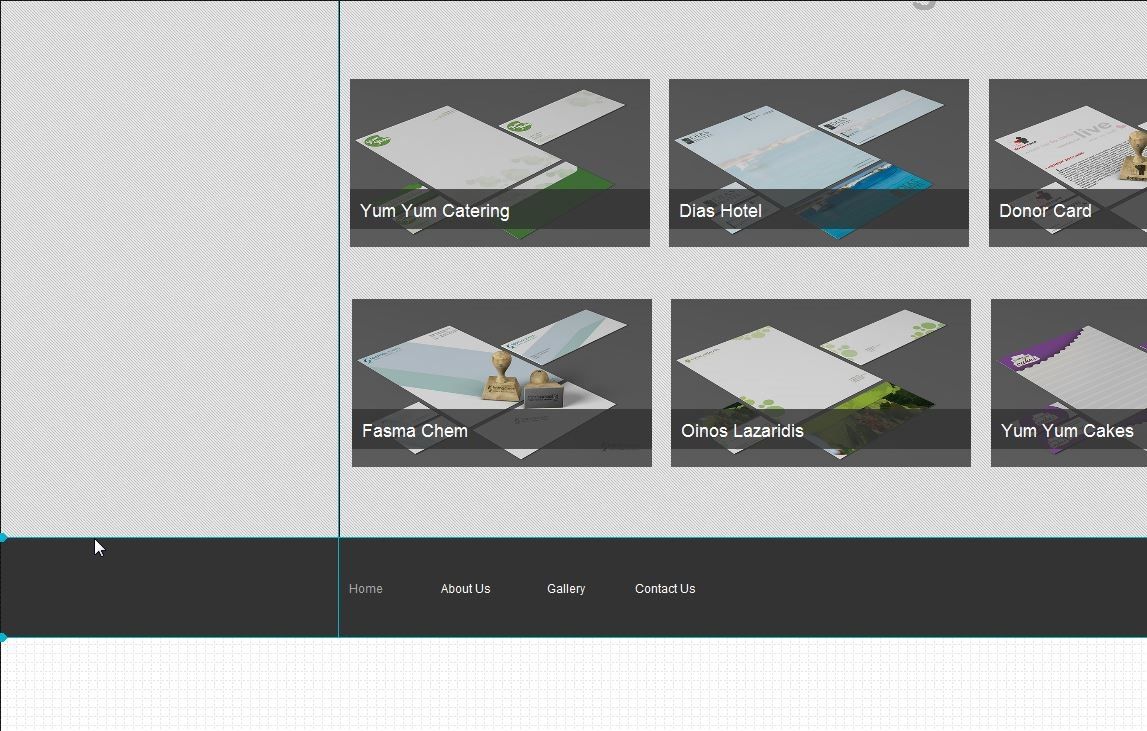
Simply move your mouse to the blue line, till your pointer turns to a bi-directional arrow, and then click and drag to create more space.
To add more thumbnails Shift+Click the 3 last projects, right click on them and select copy and then paste. Or simply alt-drag them in the spot you’d like to copy them.
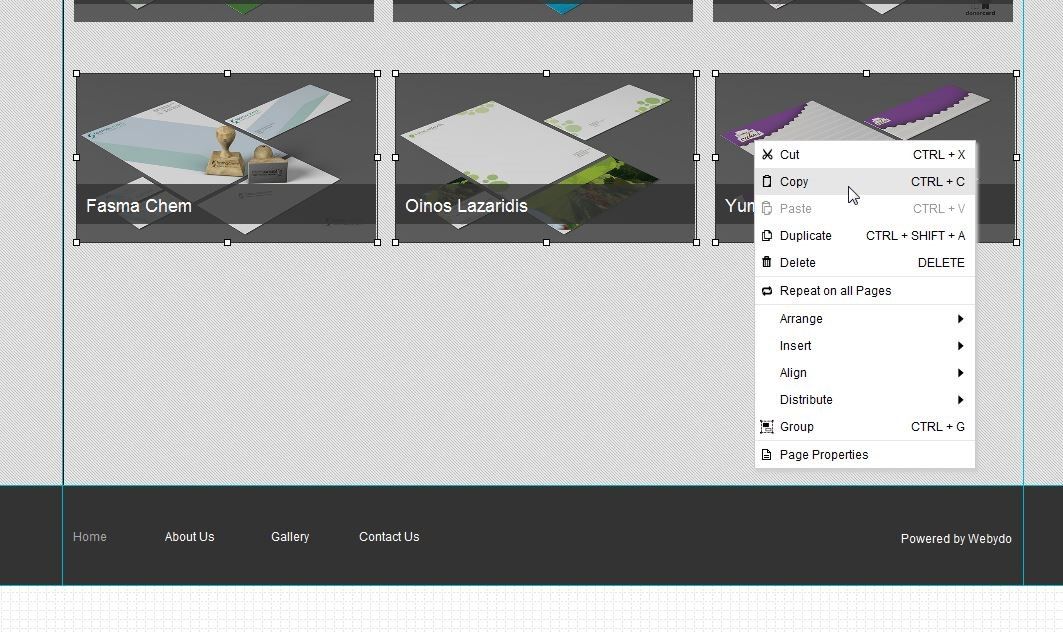
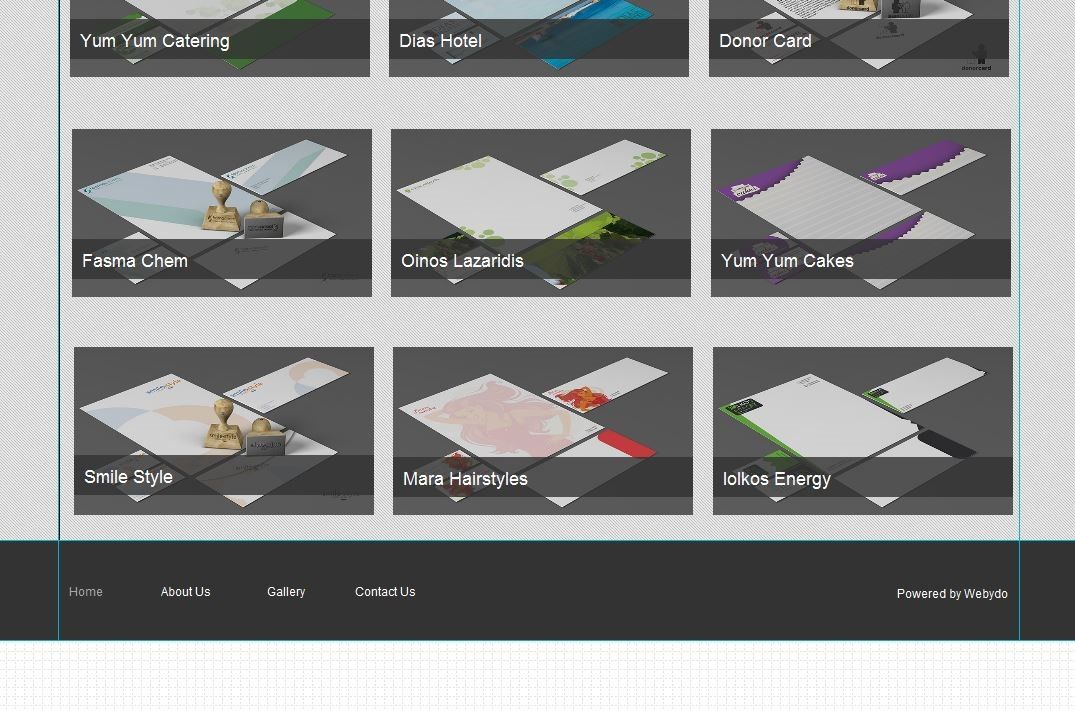
After the new row is created you can double click the images, and add more of your projects.
Adding more pages
Now we have finished with the home page, let’s see how we can create the rest of the 3 pages!
Click on any menu item and then from the top panel choose “Manage”. (You can access the same menu by clicking on “Pages” on the top menu.)
Then double click on “About Us”.
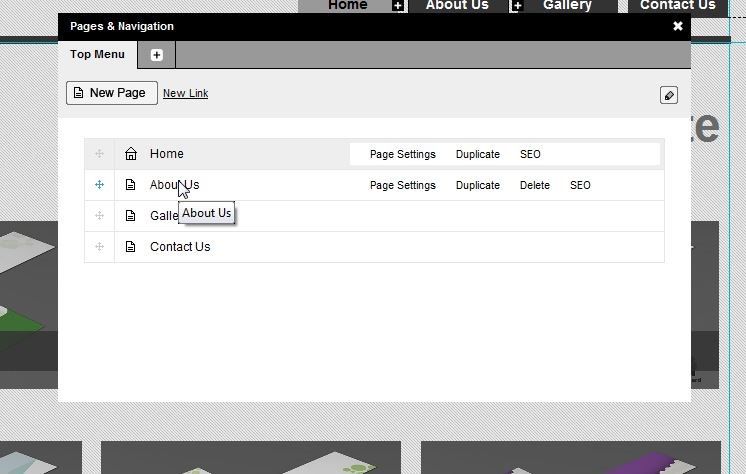
That will generate for us the template for the about us page. By now you should feel comfortable enough, to fill on your own.
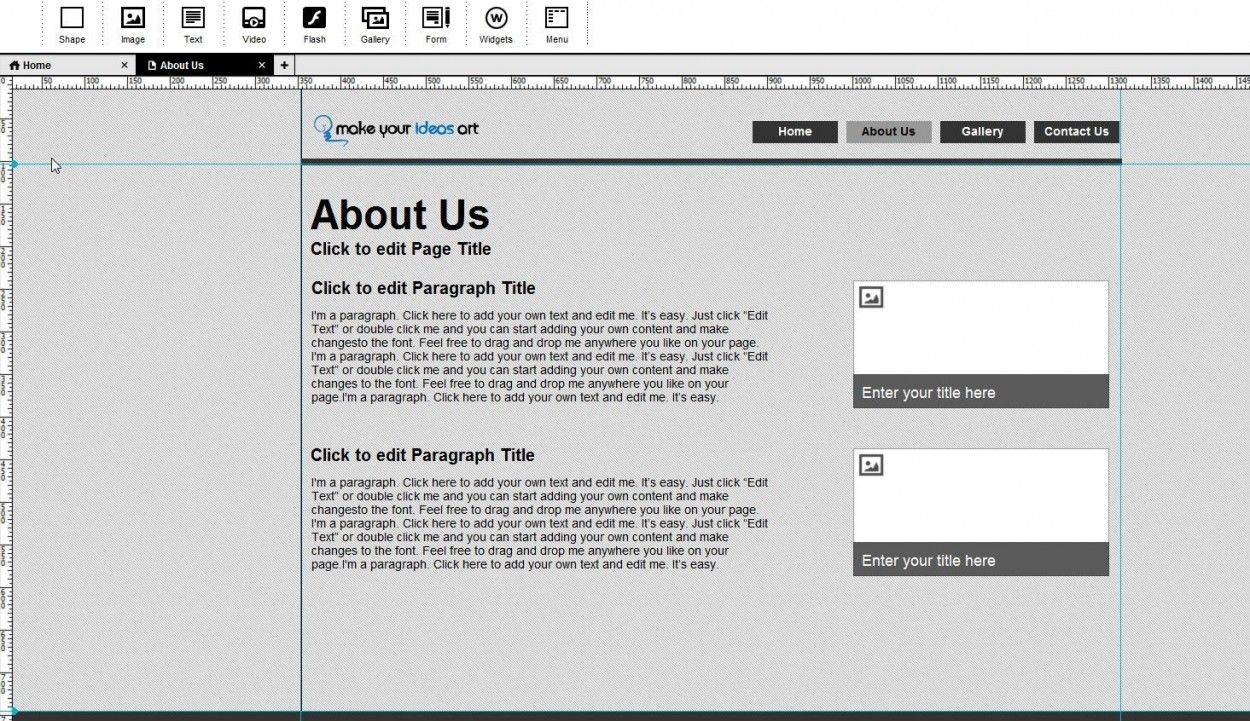
You can generate and fill the Gallery page the same way. Or create your own pages. Perhaps you want each project in the home page to have its own page displaying more images and details. You can add those pages from this menu. But for our tutorial purposes, let’s also generate the “Contact Us” page to see a fine detail you need to pay attention as far as the form is concerned.
Click on the “Pages” menu, and then double click “Contact Us” to generate the page.
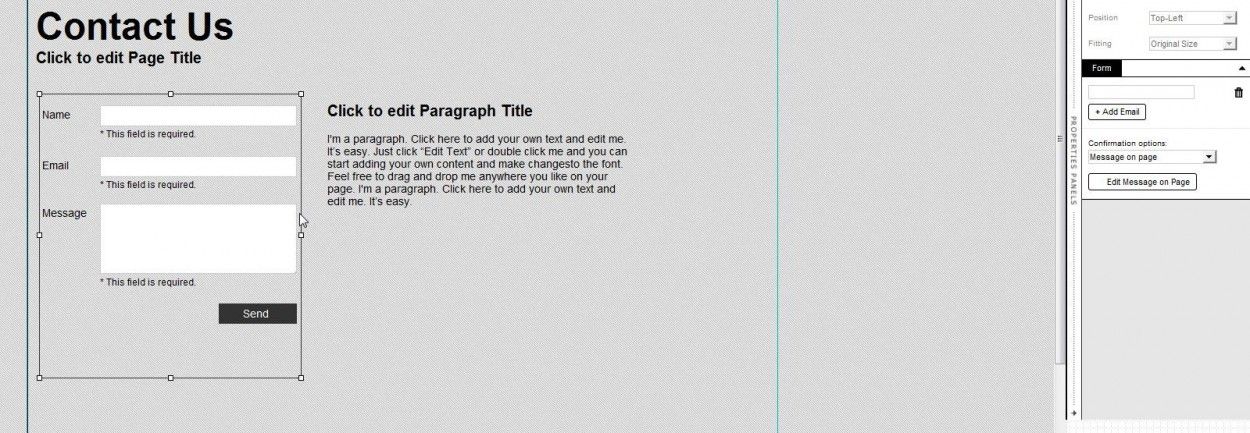
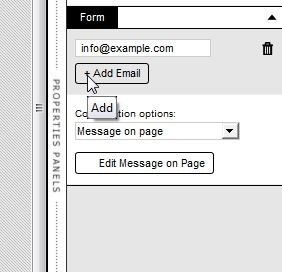
Select the whole contact form, as in screenshot and from the right panel set your email. Otherwise the form data won’t reach you! If you want to add an additional email simply click on the add email button.
Tweak your SEO
Before we publish our website, it’s a good idea to visit the “Pages” menu once more and add some SEO details and descriptions to our pages.
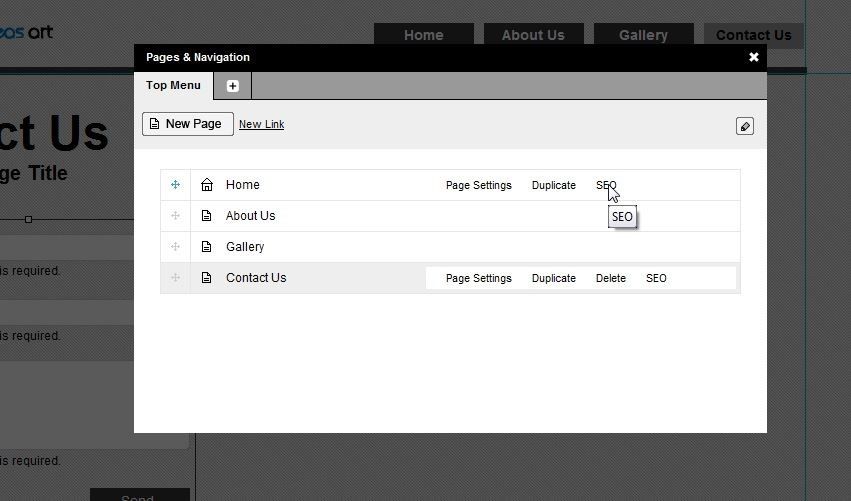
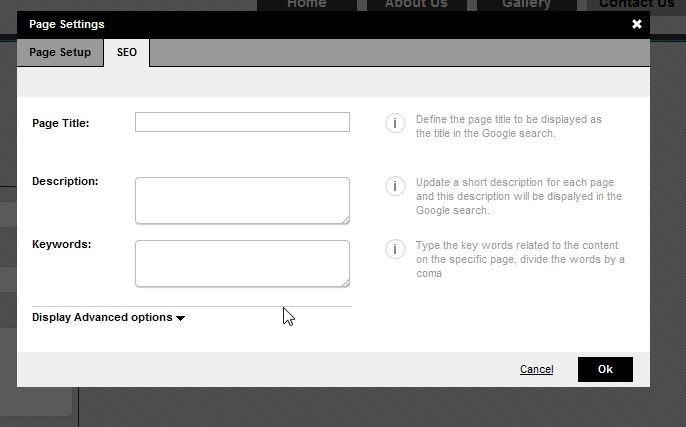
Fill in the details for each page and the click “Ok” to save your changes.
Publish your website
Simply hit publish and you are done! Your site is now live. You can upgrade your plan or edit your site name and other important settings (like adding Google analytics code, web master tools verification etc.) through your dashboard.
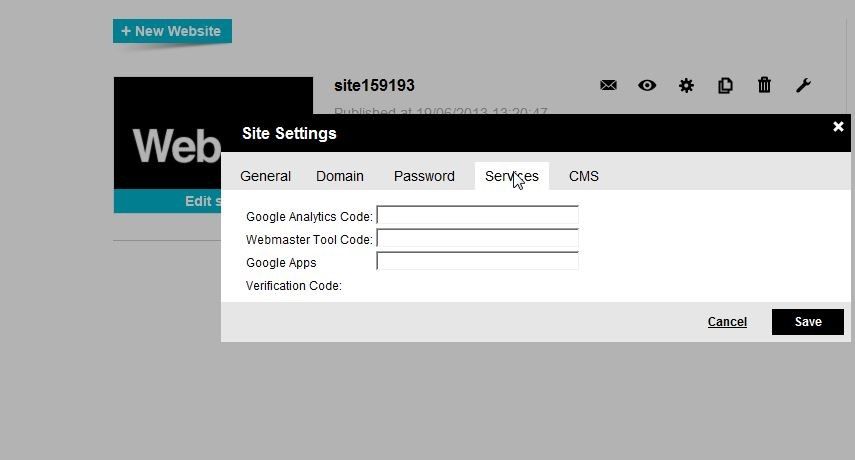
You can access your dashboard at any time through the main menu on top, while you are on the design view.
I hope you enjoyed and found this tutorial useful! If you have any questions feel free to comment below!
Head on over to Webydo to get started building your Portfolio (or Business, Personal) website today.