LightCMS Unveils Password Protected Pages & Calendar Enhancements
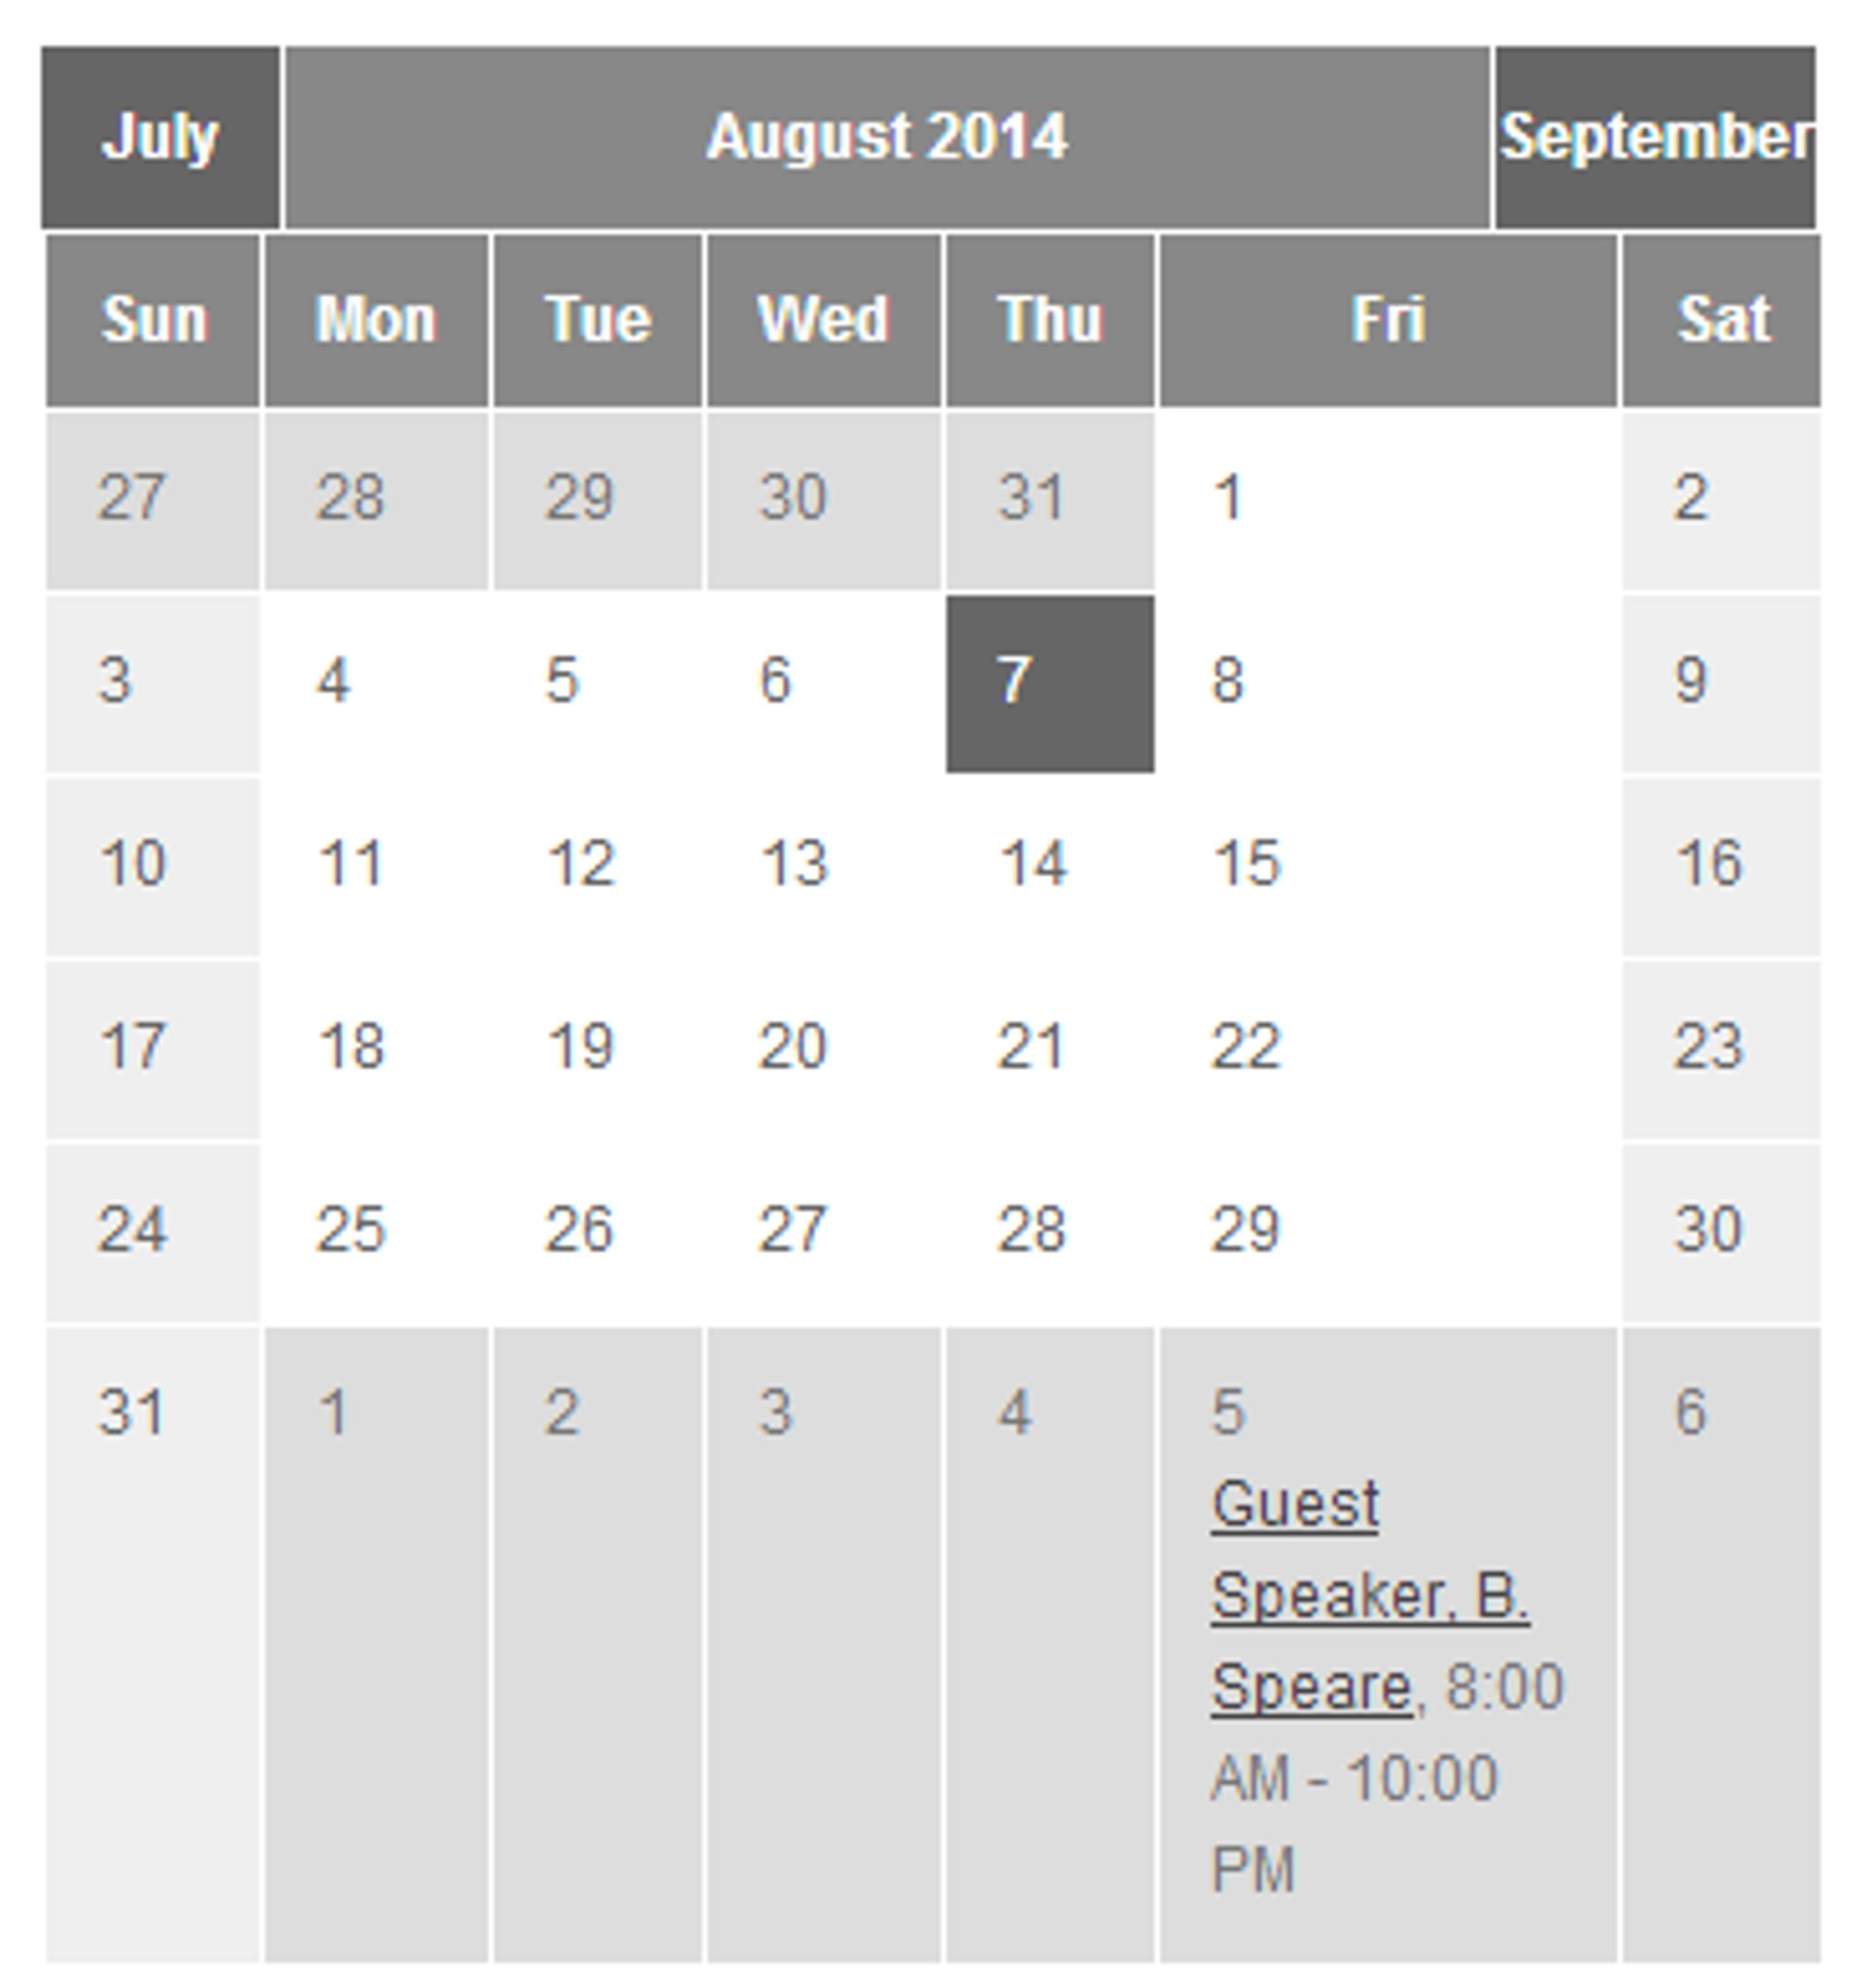
LightCMS has released a number of new features, including password-protected pages and calendar enhancements.
These days, not a month goes by unless LightCMS reveal new updates. In recent months, they have released a new partner platform, made improvements to their interface, enhanced blogging features, and much more. It's for this reason, amongst many others, that LightCMS has been nominated in the Best Cloud CMS for SMB category for the CMS Awards 2014.
Now, let's take a look at what the latest update brings to the table.
Password Protected Pages
Firstly, a new password protection feature allows you to restrict access to certain pages of your site, granting access to only those visitors who know the password. This was always possible via LightCMS' Users and Roles section, but there were many requests for a quick and easy way to restrict access without having to create a new user or user type.
To enable the feature, simply go to a page’s settings and select the “Advanced” tab. Enter a password in the Password field, and that page becomes password protected. It's really that easy. To unprotect a page, all you have to do is clear the password field.

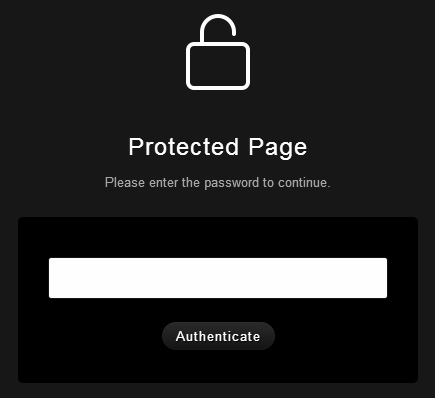
When a visitor attempts to access a protected page, the system displays the “Protected Page” message, prompting the visitor to enter the password before it will display the page.
Registered users assigned to an administrative role, or any role that grants editing privileges for the page, can access the page without having to enter the password, as long as they are logged in.
Manage Events & (Better Manage) Posts
LightCMS users who publish a calendar of events on their websites will be excited about the new “Manage Events” feature.
Similar to “Manage Posts” for blogs, Manage Events gives you a listing of all of that calendar element’s events. To view the Manage Events page, go to the page with the calendar element and select Manage Events from the Calendar element’s drop-down menu.
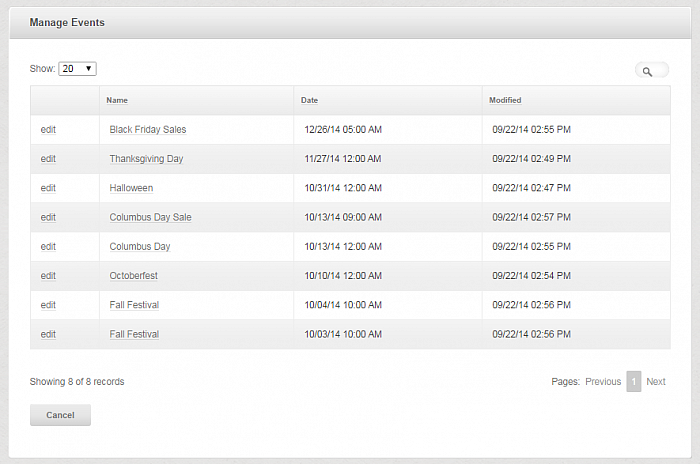
Using the new grid interface, you can easily sort, filter and search for events. Plus, you can specify the number of events to display in the grid by selecting the number from the drop-down list in the upper left corner.
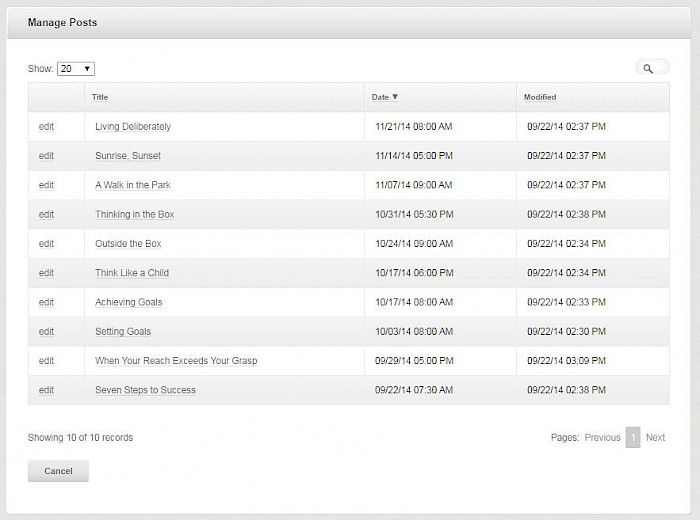
As for blog post management, this existing feature now includes the same features that were introduced on the Manage Events page detailed above. This includes sorting, filtering, and pagination.
Event Management Improved
And finally, LightCMS now allows you to specify an end time for an event. Previously, you could set only the event start time.
To set up start and end times for an event, enter them in the time section of the event settings page.
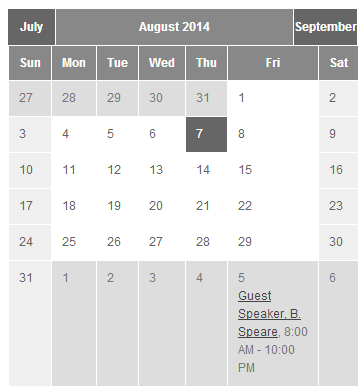
Before this update, event times only displayed on the event's detail page. Now, both the start time and end time can be displayed in event summaries in list or calendar view.
To find out more about all of these LightCMS updates, check out the official blog announcement, which includes the full release notes.
Also, make sure you explore more of LightCMS via our CMS Directory.