Sitefinity Review - A Look at Sitefinity 5
Sitefinity 5 is the latest release from web content management vendor, Telerik. This new release introduces a number of new features and we've decided to do a Sitefinity Review and take a look at the system and how it functions.
On the first visit to the site, we were greeted with an attractive demo site for the fictitious Telerik International University. In order to enable our editing tools so that we can use the on page editing capabilities of Sitefinity, we need to first authenticate with the system, we can do this by appending our URL with /sitefinity to get to the dashboard login.
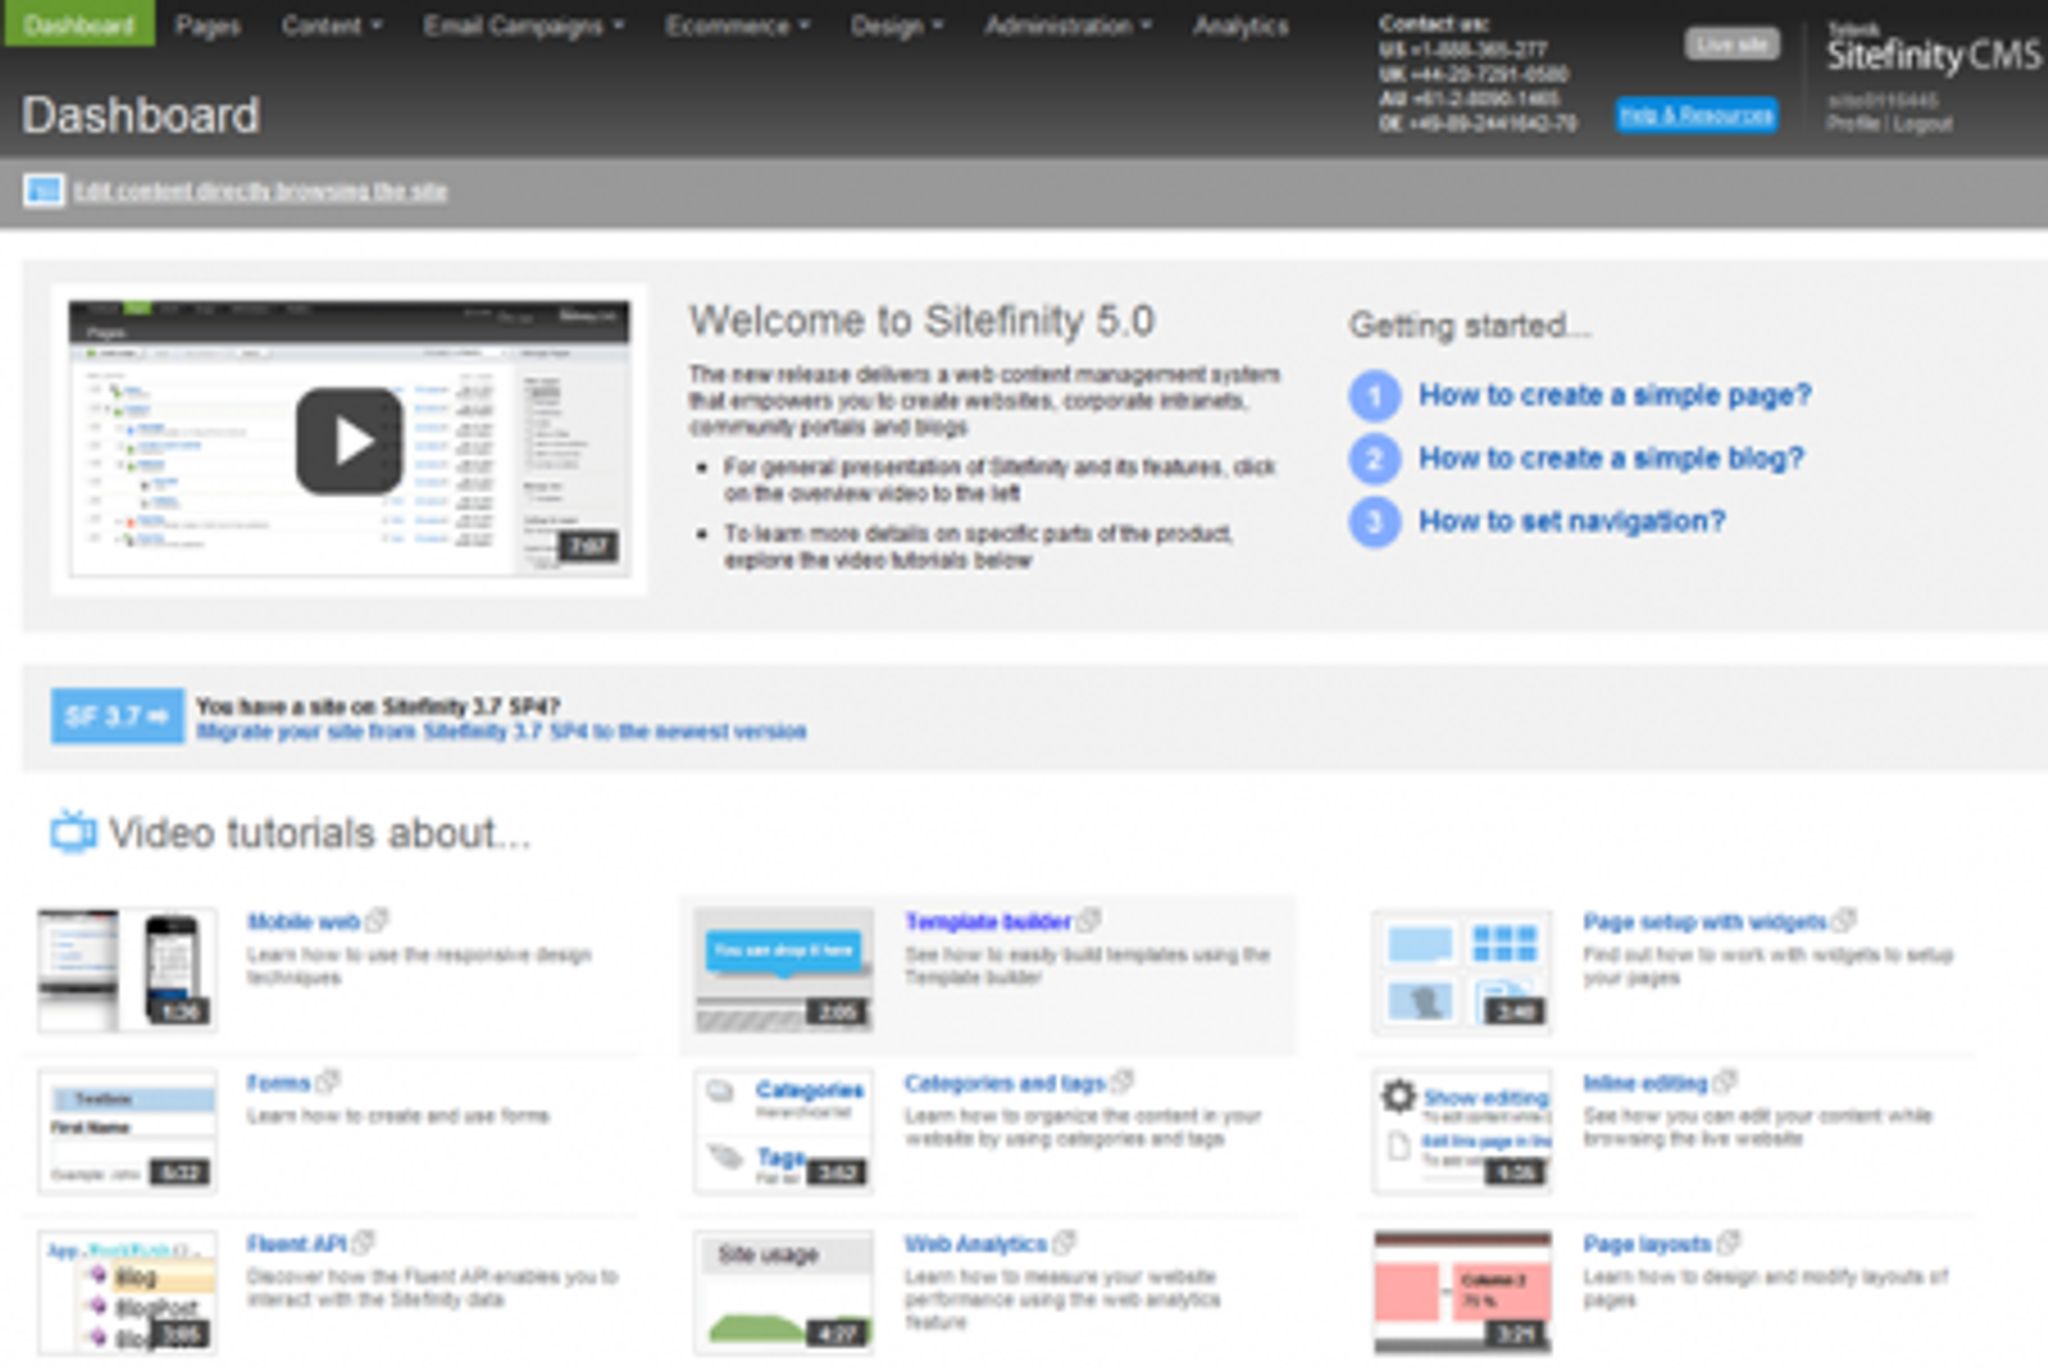
Once we log in and see the dashboard (shown below) we can visit the main website and begin making changes. We’ll come back to the dashboard about later in this article.

Sitefinity’s Dashboard
Visiting the main website, we see that there is a new icon floating on the right side that says “Tools”:

Clicking on this icon, followed by “Show editing tools” turns on a number of editable regions within the site. To edit any of them, we just click the edit link and the applicable module or WYSIWYG editor loads with the relevant content.
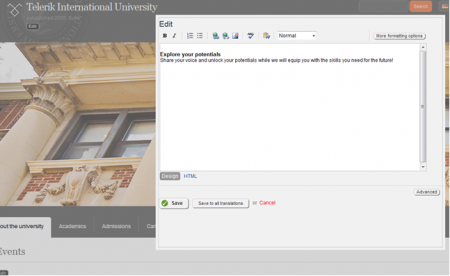
The editor is easy to use, loads fairly quickly and has the majority of options I’d need by default. There is also a “More formatting options” link which enables more functionality but I did not find a need to use it. All changes once saved are applied to the site. For multi-language sites, there is an option to save to all translations as well.
Of the various regions within the site, I didn’t find any instances where the editor failed to load or the functionality was not up to par. Front end editing is generally more for quick changes and for those who like to see the results instantly. The more in-depth work is done through the dashboard so lets take a look at how things work from within.
One thing I really enjoy about Sitefinity’s dashboard is the amount of help it provides to newcomers with the many links to video tutorials, the documentation portal and getting started links. Visually, the user interface is clean and has pretty much everything someone would need to feel confident about using the product. I like the touch of adding the phone numbers at the top as well for when frustration or confusion sets in. Sometimes digging for these can become difficult and this all adds to the overall customer experience nicely.
Managing Pages within the CMS is very easy and straight forward. There are many ways you can work with them from simply dragging and dropping them to change the order or hierarchy to viewing each page with the handy “view” link which launches in a new window. Under the actions menu, there is the ability to further manage with version history and more.
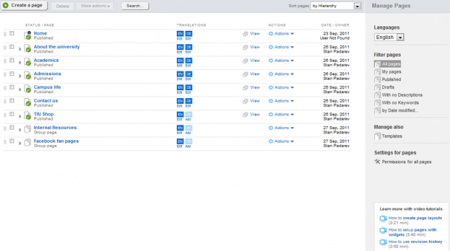
Once again, the Sitefinity team have shown their focus on the customer experience by ensuring that enough help is always available with easy relevant links to help on the bottom right of each area within the dashboard. This is a thoughtful and appreciated addition. The ability exists to edit each of the translations directly from the one site as well with easy edit links under each.
Modifying pages within Sitefinity is a treat with easy drag and drop widgets in a WYSIWYG view of the structure of the page. Adding content is extremely easy and there are more than enough widgets available to work with.
I can see users having fun creating their pages and having a feeling of control which is a great thing to be able to say.
Further to adding content, you can also switch to layout view which allows you to quickly drag and change layout elements or, as shown, change the entire template.
Outside of the Pages area of the CMS is the Content section where one can add News, Blog entries and much more. This is all done from a handy drop down and, depending on the type of content you try to add, each content template differs accordingly.
I won’t go to far into the News, Blogs of Events contents section as we’ve covered this in earlier reviews but I will say that all three are similarly intuitive and easy to use.
Sitefinity has some nice image management functionality which lets you upload bulk or individually, sort your images within libraries and do basic image editing tasks such as cropping, resizing and rotating.

Again, you can have multiple images depending on your translations as well. Video, document and file management works in a similar way (minus the editing capabilities, obviously).
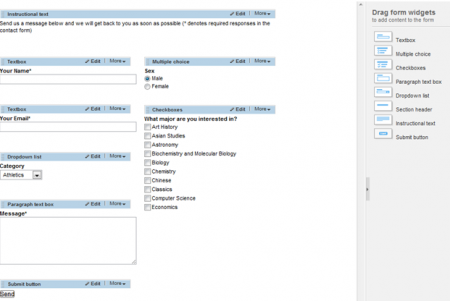
Moving on to Forms, I can safely say I’m a big fan of how easy they are to build and they work similarly to Pages within Sitefinity. You are able to drag and drop widgets (textbox, multiple choice, etc) onto the page and modify layouts as well. Form functionality is an important aspect and this system handles them nicely.
Where I can see some improvements are within the settings for the forms. Currently, they are very basic with the following options:

It is not clear by watching the forms video tutorial how to change to whom the form goes, what email it’s coming from or whether a copy should be sent to the user, to name a few. It would also be nice to see a widget in the dashboard showing responses that have not been attended to as it’s rather tedious to go to the Content Menu->;; Forms to see submitted content.

Hopefully, Telerik can take these suggestions into consideration for a future release.
Email campaigns can be managed within the CMS as well which eliminates the need for third-party integrations.

Adding mailing lists is very simple with an easy interface that also allows you to pull in data from either the users within the system or those who have submitted forms.
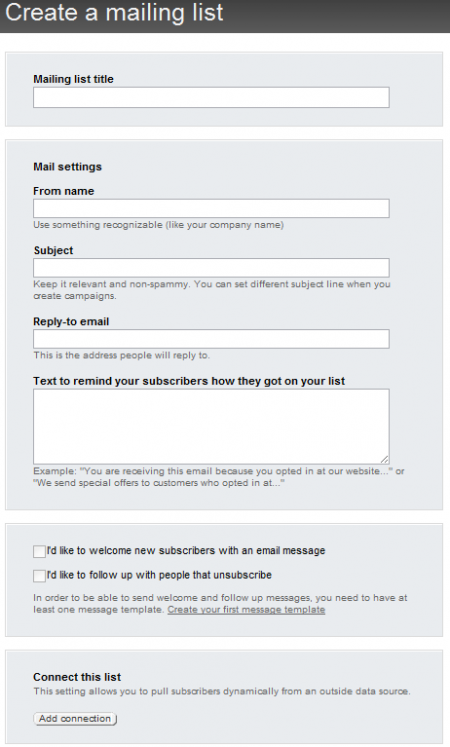
To add people to the list, you can choose to connect the list to form responses by clicking on Add Connection.

This is a great start but would be much more useful if you could bring in subscribers from an excel spreadsheet or CSV file as now, it seems there is no way to do so or at the very least, it’s not readily apparent. There may well be a module that enables this ability as well, but that remains to be seen.
For basic use, it does the job well enough, but could use some improvements. Message templates can be created in rich text, plain text or web page format and there is basic campaign management as well as A/B testing.
** Update **
I’m told that Telerik has plans to introduce a number of module enhancements for email campaigns in their next release, due around June, 2012.
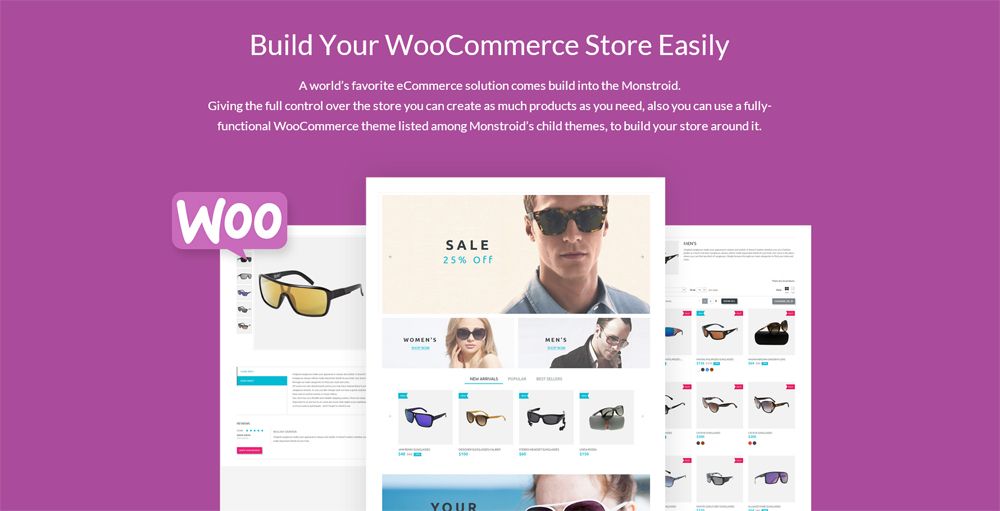
The Ecommerce module within Sitefinity 5 is a nice inclusion and gives users the ability to add products, types of products, attributes and departments using simple content templates.
This similar to the news & blog entry modules, it’s simply done with different fields and is easy to use.
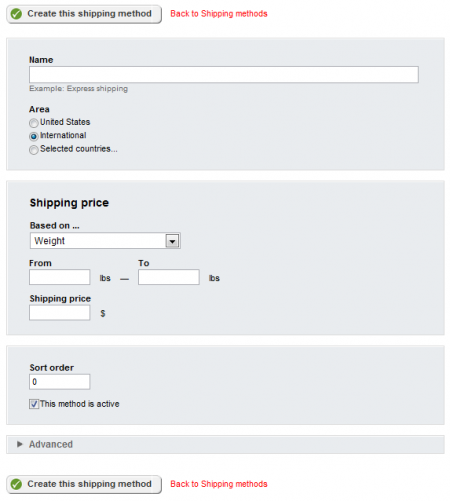
Shipping methods, payment methods, taxes and discounts are managed from within the module through easy to use interfaces, such as the one below.
Adding products can only be done on a one by one basis from what I can see and similarly to the mailing lists module, it would be nice to be able to bulk add products and map the fields accordingly from an excel sheet or CSV file as it’s easy to imagine customers of a larger size being hesitant to manually enter each individual product one at a time into the system. While I’m sure this can be done (or automated somehow) by the team at Telerik, it would be nicer to see the ability within the CMS itself.
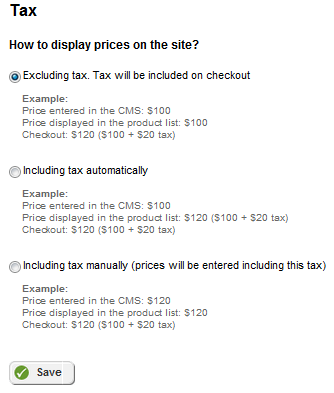
Users are given the ability to choose how prices are displayed on the site via the following screen.
If you need to work with multiple currencies, you’ll be happy to know that the system lets you add and manage them by geography easily. The same goes for length and mass units.

To see orders by customer, simply click on Customers under the Order management section and you’ll be greeted with the following screen.

Clicking in a customer name presents you with a list of all orders by that customer with totals and payment status.
The orders screen is similar:

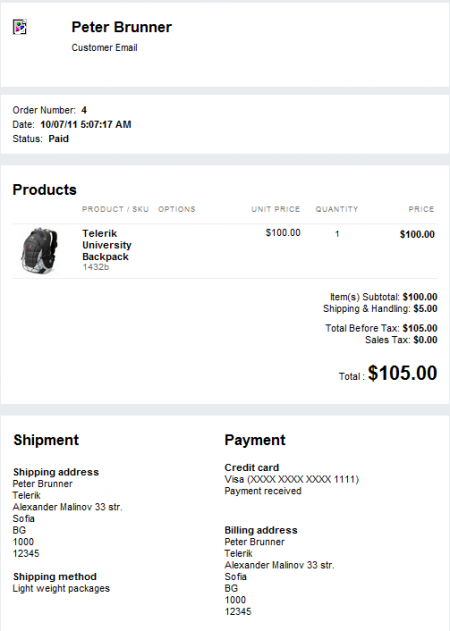
Clicking on an order shows you a list of all items purchased, by whom and their amounts as well as details on the customer.
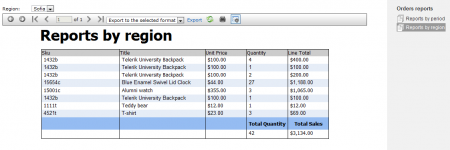
There is also the ability to view a number of reports regarding sales and orders. Here is an example of one such report:
Under the Design menu, users have the ability to modify and add Page templates, Widget templates and responsive and mobile design. Let’s explore the latter.
Within the responsive and mobile design section, you can add sets of rules that determine how content is transformed based on screen size and other settings. This can be done for a variety of devices such as tablets, large screens and smart phones. The interface is simple and easy to understand, much like the rest of the modules within Sitefinity.

Moving to the administration area within the CMS, amongst the basic settings, Sitefinity allows you to specify which networks you’d like to include within your social sharing options. The number of available choices is pretty decent and even includes the new Google +.
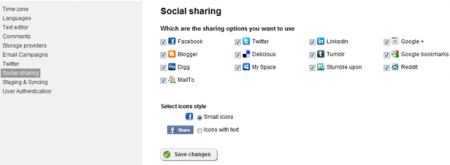
Twitter integration with URL Shortening is also available and multiple accounts can be used.

In addition to the basic workflow scenarios that are available out of the box, there is the option to upload a custom workflow that you have previously created in Visual Studio. Custom workflow is a really powerful option and allows you to:
Set conditional approval steps;
- Apply safeguards to ensure that certain words or phrases will not be published;
- Receive notifications if someone is away or if there is content pending approval;
- Many additional features built on top of Windows Workflow Foundation 4.
More information is available here:
http://www.sitefinity.com/blogs/ivan/posts/10-11-19/sitefinity_4_0_rc_deep_dive_workflow.aspx

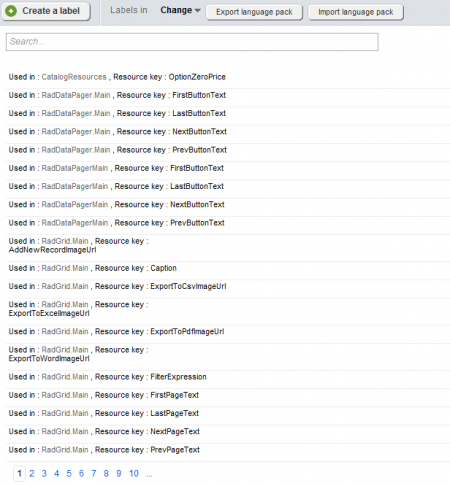
A nice feature that exists is the Interface labels and messages module which allows users to bring in language packs (import or export) and modify each individual label within the CMS to their needs. While the interface can be initially overwhelming, we can’t fault them for making it expansive.
For advanced users, Sitefinity even has the ability to completely modify backend pages within the CMS right down to deleting them as desired. There is a good large warning before you are able to click through to that section of the CMS, however, and rightfully so. It’s good to see that they aren’t afraid to add the ability for those who desire it.
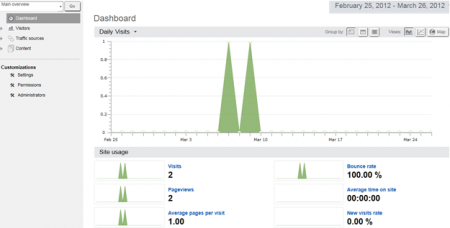
Lastly, we come to the Analytics module in Sitefinity, which is tied heavily to Google Analytics and on your first visit, kicks off a first time visitor configuration wizard. Once configured using this easy to use wizard, the system brings in and repurposes your analytics data in an easy to view set of charts and graphs.
With that said, that is a look at Sitefinity 5, the latest release from Telerik. Overall, my impressions from the CMS are that they have done a good job of packing in the features in this version. The overall experience for the customer should be a positive one given the consistency of functionality throughout the product. The system is easy to navigate and use; even for the average user; and should require minimal training to get started.
I like the expansive help system but noticed in a few of the more advanced modules, it’s not as prolific so it still needs some work. They are definitely on the right track and I’m comfortable recommending this version of Sitefinity as an option to consider if you are in the market.