Elgg Review - The Social Networking CMS
Elgg is a free, open source CMS that has been around for a number of years. Over the years, the community has grown exponentially and now boasts a rather active set of users. With a plugin repository of over 1000 available plugins for the system, it has quickly become the go to CMS for open source social networking.Today, we're going to take you through the CMS and show you what it's made of in this Elgg Review.
One thing to point out before we proceed, however. When it comes to Elgg, one must realize that it is similar to Drupal in a number of ways. Just as Drupal is more of a content management framework than a CMS at heart, so is Elgg. Elgg provides the foundation to build a powerful social networking based website and you, as the administrator, are responsible for deciding which modules/plugins are applied and configured. To some, Elgg can seem rather bare bones at first glance but this is intentional and the real power of the system comes from the ways it can be extended. You decide what will be added, how it will be setup and as you add the individual plugins, the system begins to take on the form of full fledged social networking CMS.
With that out of the way, let's proceed.
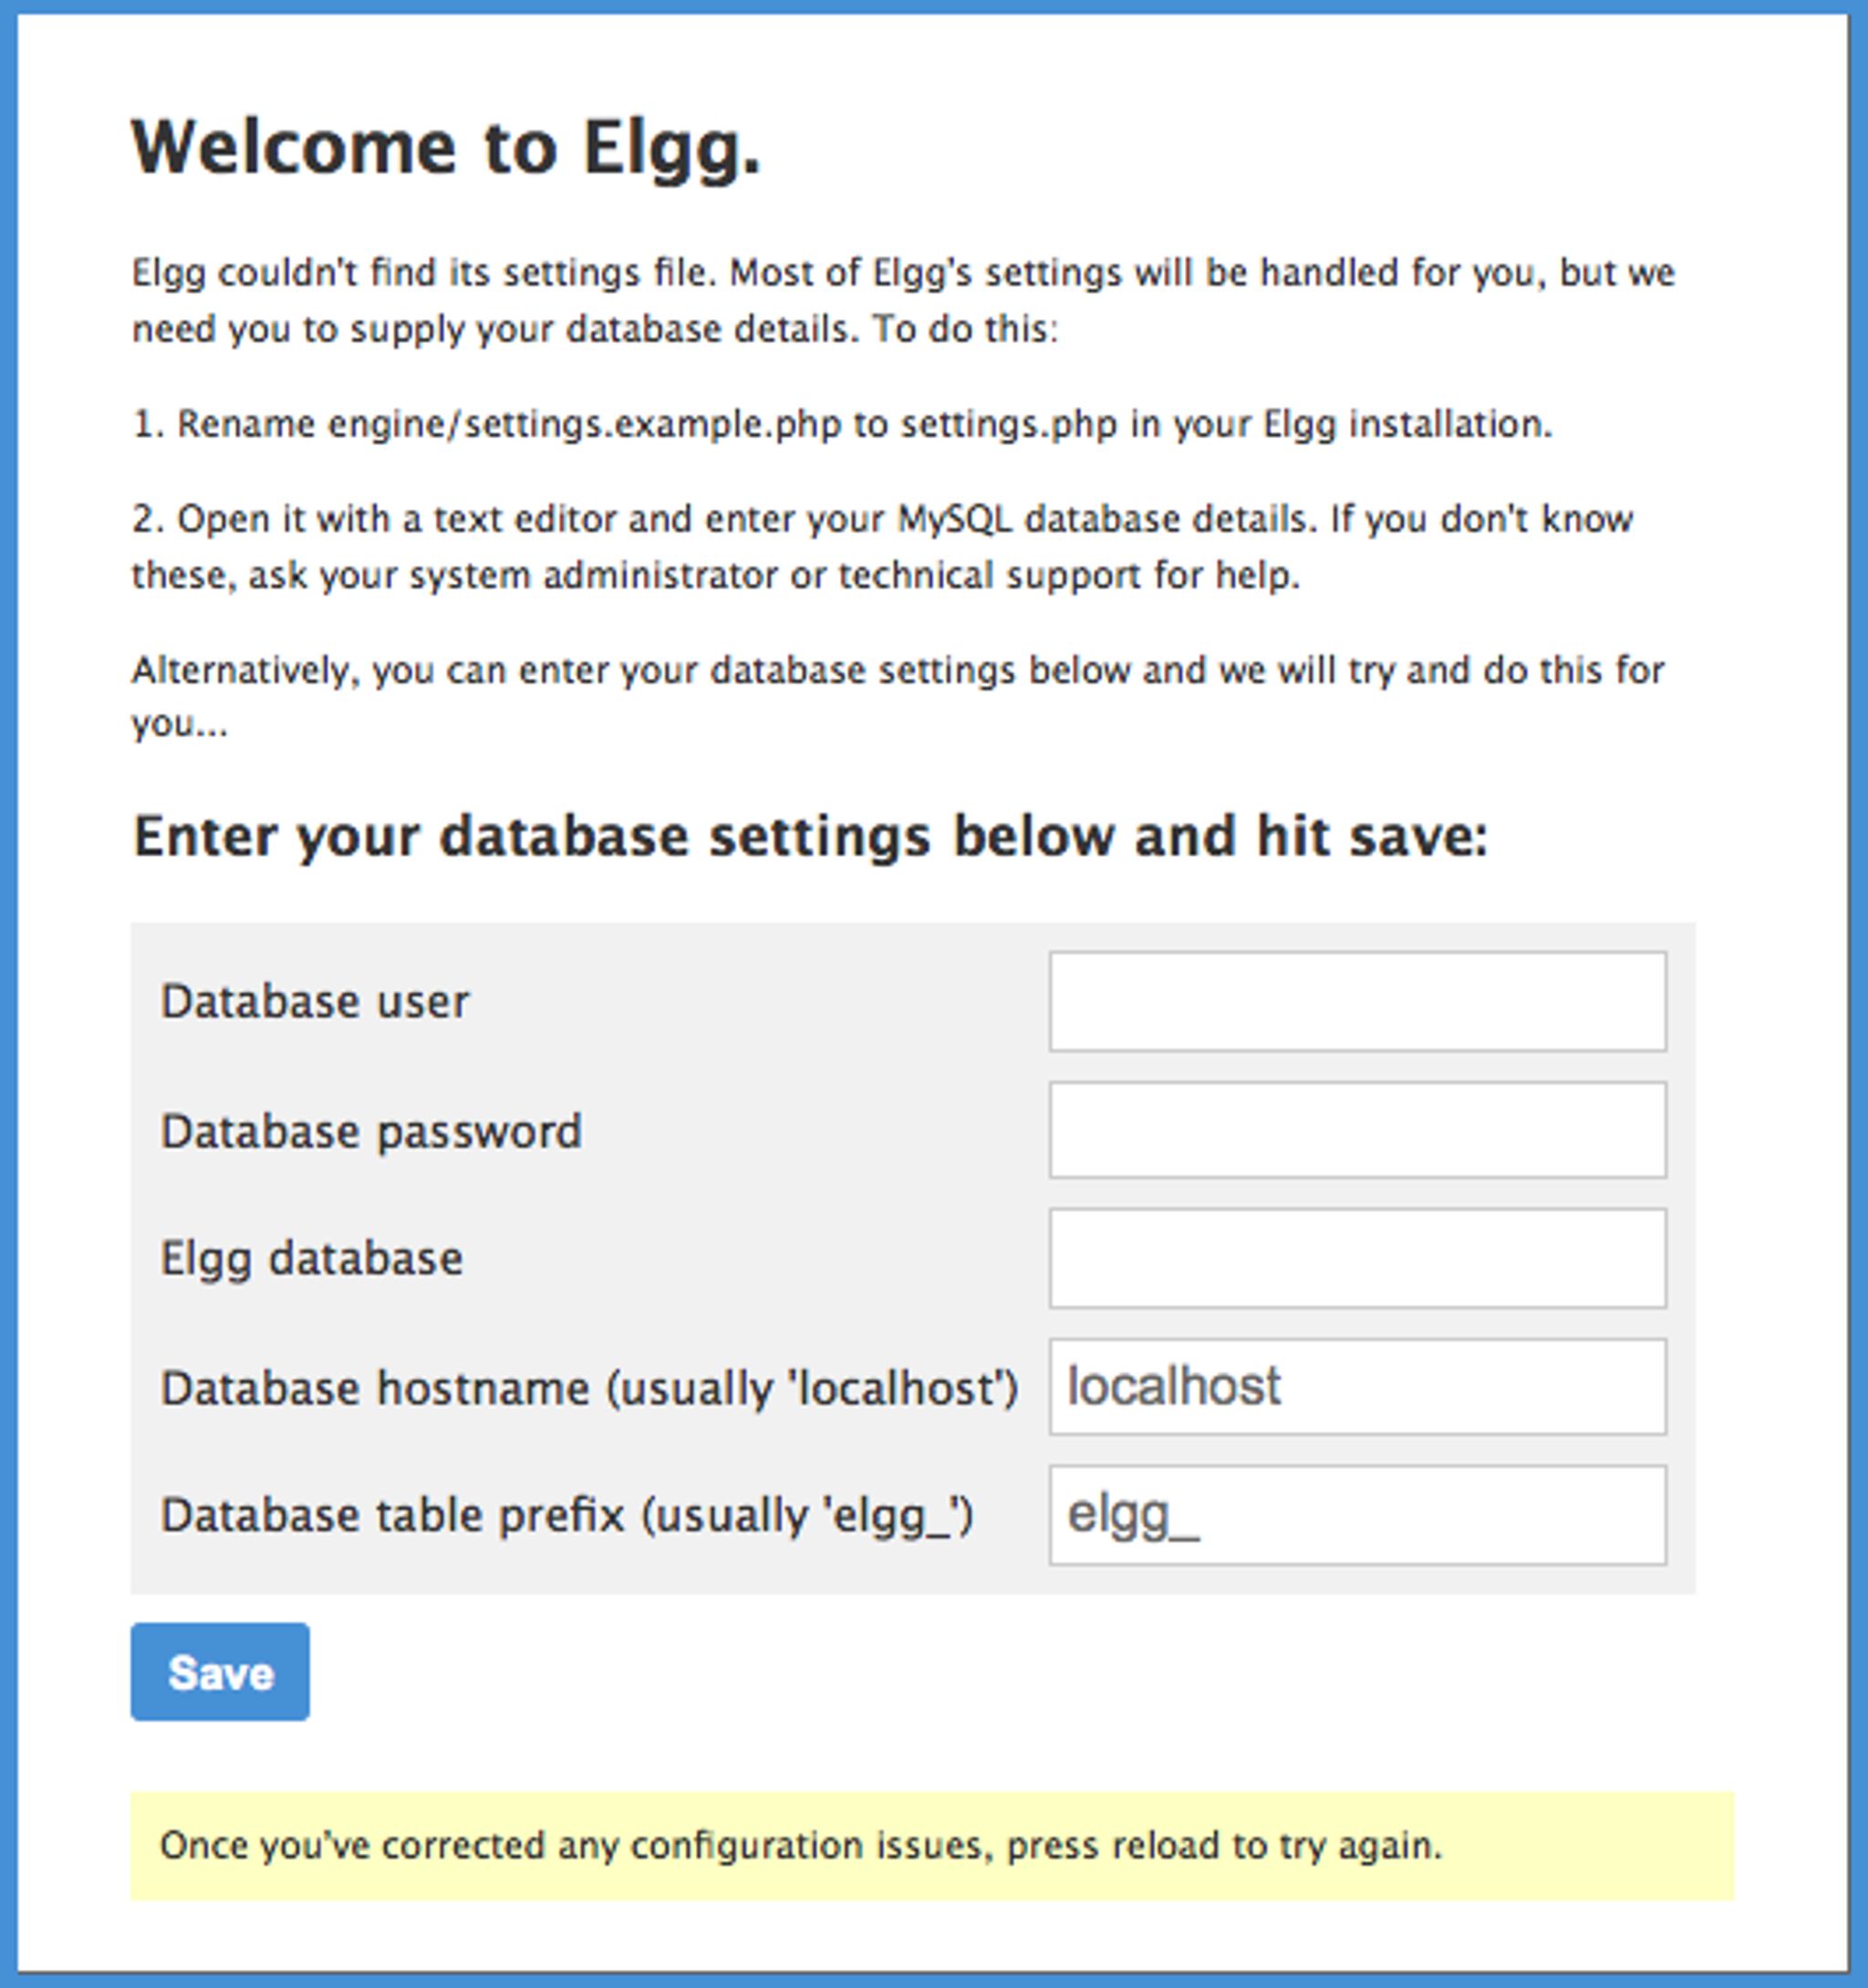
Installing Elgg is as simple as downloading their latest zip file and extracting it to your web host. Once you've done so, you can proceed through the install.
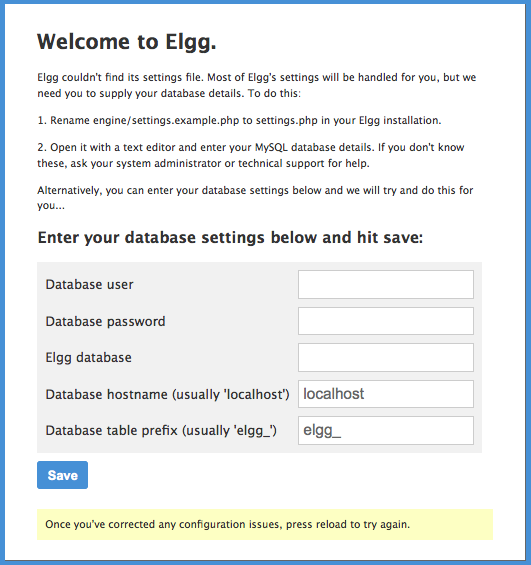
Once you've entered in your database credentials, you will proceed to the next screen. Here is where things get annoying briefly.
One of the fields on the page below requires you to enter a data directory (full path to the directory where uploaded files will be stored, followed by a trailing slash). The issue with this is that it does not tell you that this data directory needs to be outside of the Elgg installation directory. It also does not tell you that it needs to be writable.
In some cases, depending on your web host, you may not be allowed to create directories outside of your public_html folder and if you are installing Elgg directly to this folder, that may be an issue. In our testing, we had to make a data directory within public_html but outside of the Elgg directory (public_html/elgg). It would be helpful if the field info was corrected to alert people of these issues as opposed to not instructing them at all as it can lead to quite a bit of frustration trying to figure things out and proceed. Once you get past this issue, things are smooth, however.
The installation process is pretty straight forward and does not require much as far as user interaction is concerned. Basically, it's just the two pages shown above. Once you get through the installation, you are shown the default homepage (which is fairly plain jane initially).
Logging in with the admin credentials you created during the install will activate the admin capabilities. The first section in the admin interface is the Statistics panel. For more advanced statistics, there are plugins to enable both Piwik analytics and Google analytics tools.
The next tab down is the System Settings. This is exactly the same screen as was shown during installation, so we'll skip past that for the purposes of this review. Tools administration is where you can add/remove functionality using plugins. By default, Elgg comes with quite a few plugins as part of the core experience. You can see them in the list below.
Let's activate some and see how things change on the front end. Once you've chosen the plugins you wish to use, you now have the option of editing the page on your Dashboard and adding the ones you wish to have displayed. Clicking on the Dashboard link on the top will bring you to your dashboard.
Right now as you can see below, it's blank. Time to add some content. Clicking edit page brings us to a drag and drop interface where we can add some widgets to our dashboard.
Let's add some widgets to some of the sections available.
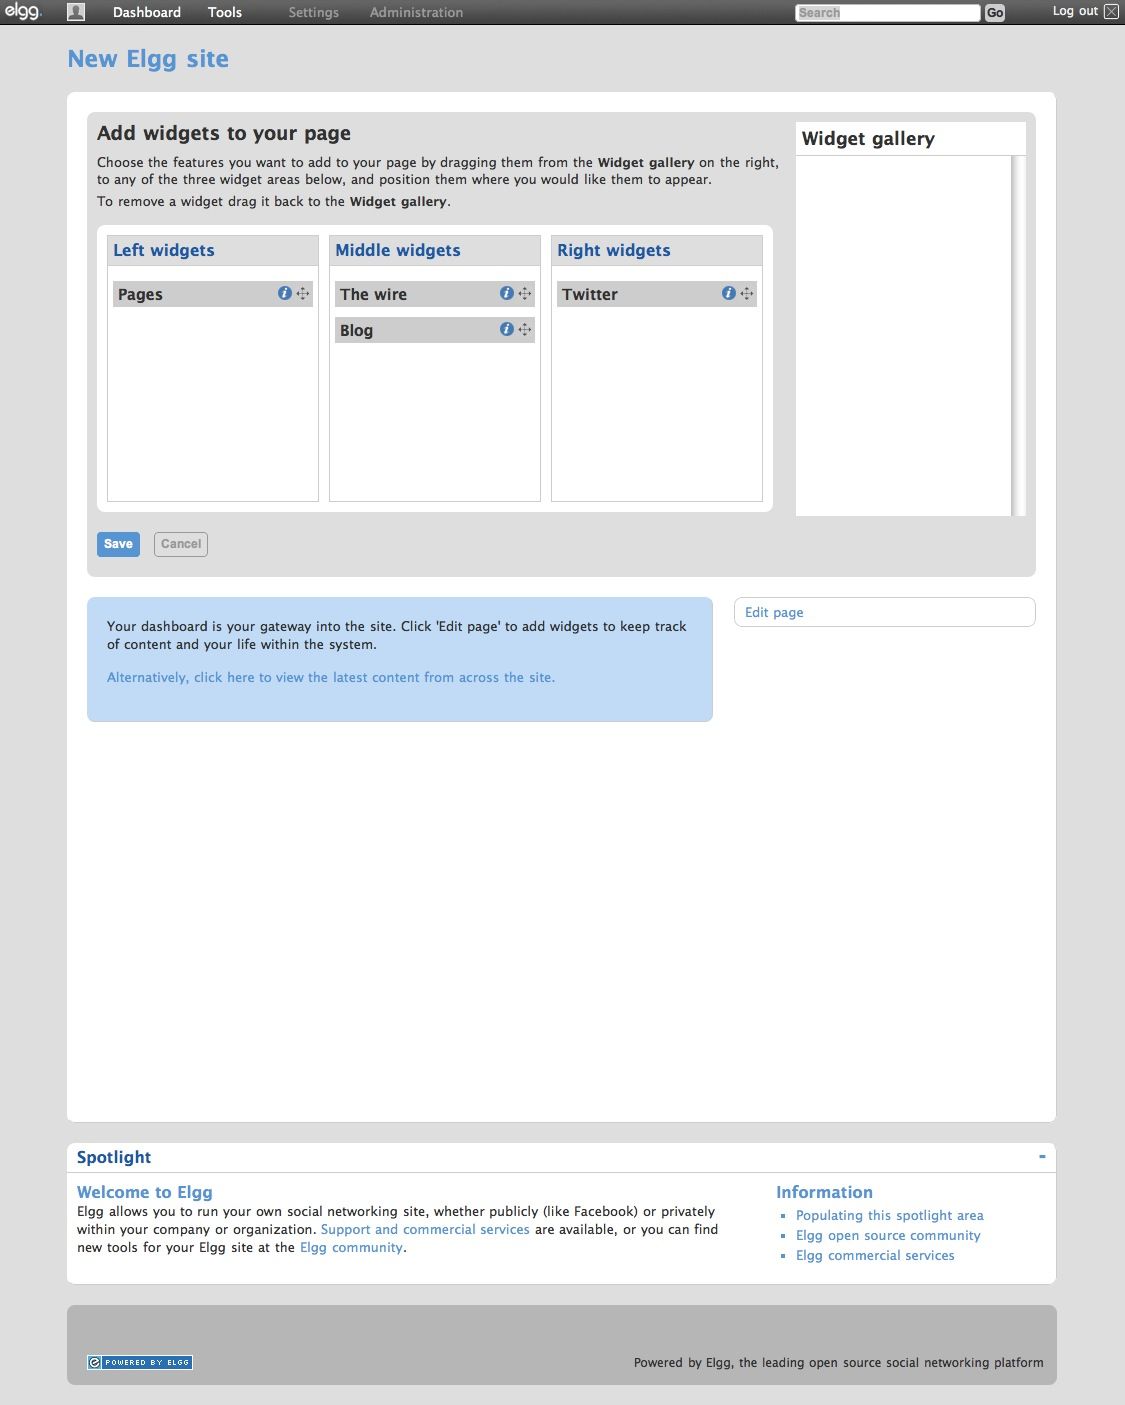
Now that we've added some widgets, we can save and alter their settings from the dashboard.
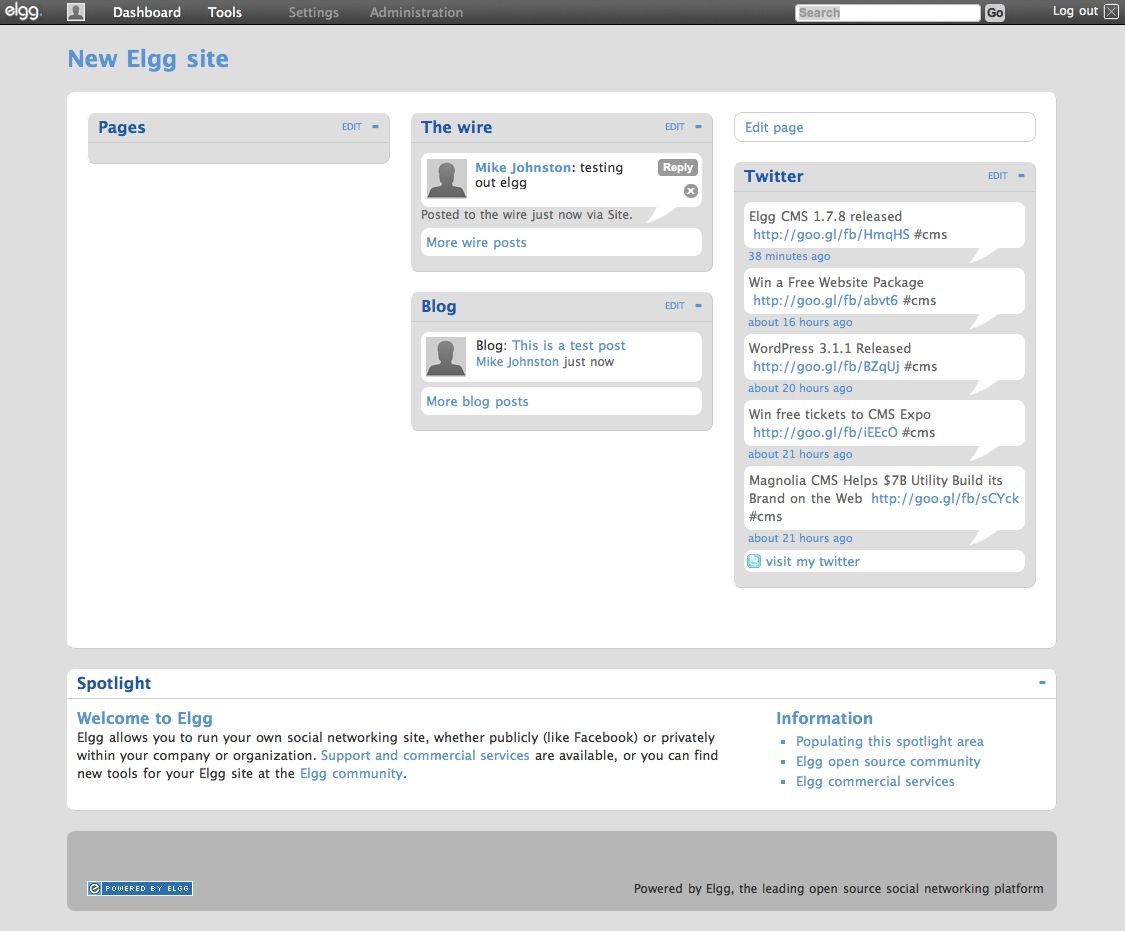
Back on the dashboard page, the widgets are shown and ready to be configured. Once setup, they begin to show the data on the dashboard as you can see below.
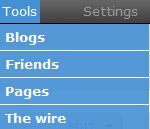
You may also noticed a Tools menu along the top of the screen (the menu bar). Under this Tools menu are shortcuts to the areas for each plugin you enabled.
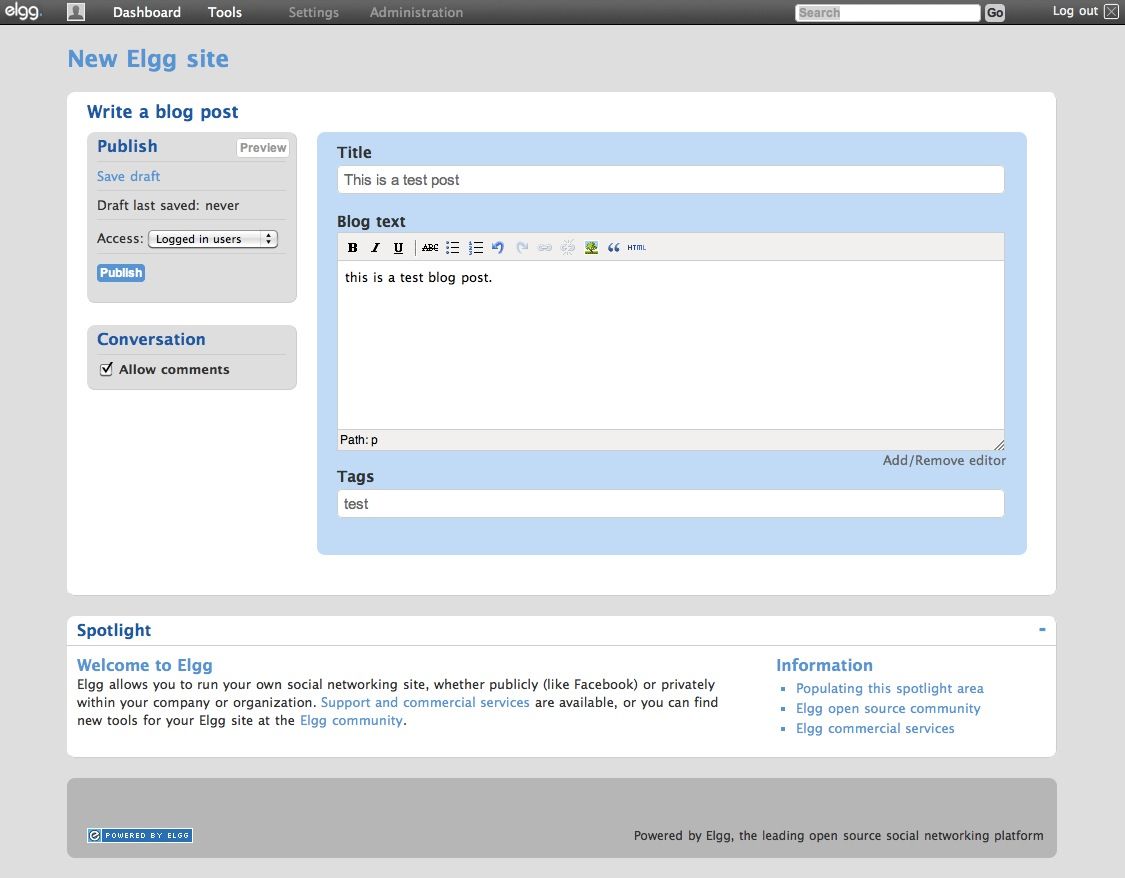
Writing blog posts is standard fare with an easy to use Wysiwyg editor and a familiar interface.
The wire is similar to Twitter except it's for your Elgg system. The same character limitations (140) apply.
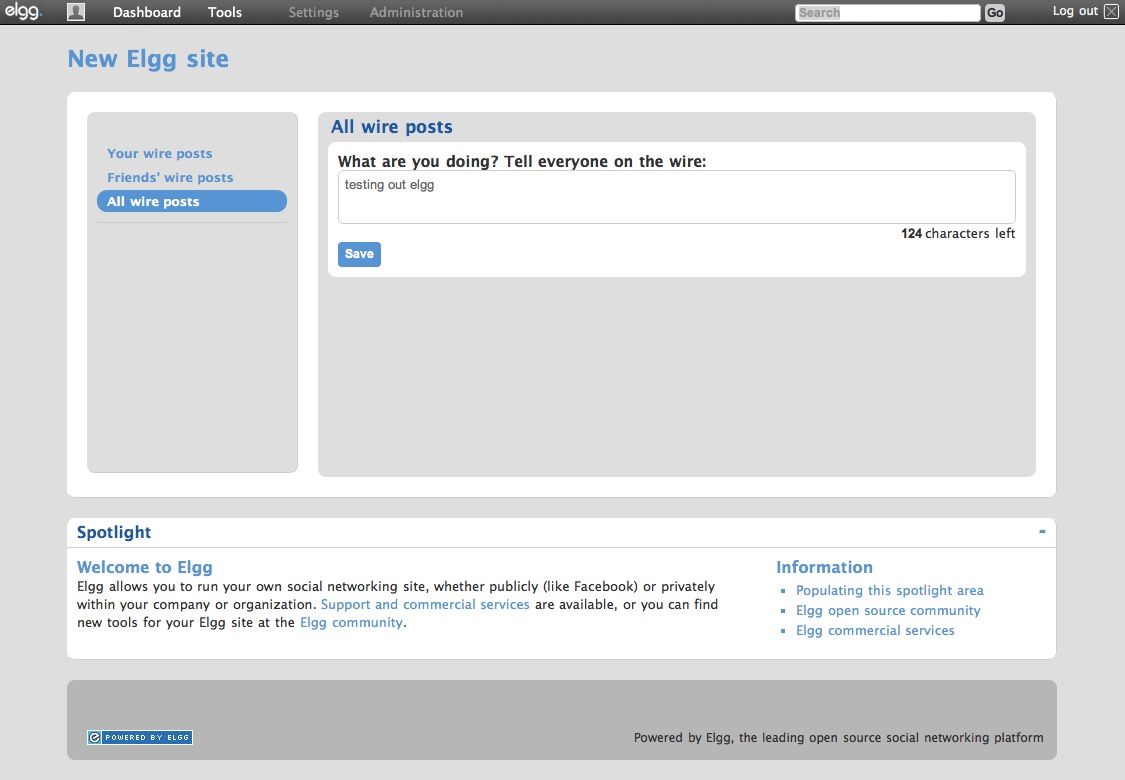
Overall, the plugins work as expected and do their jobs well. We didn't encounter any oddities or weird behavior when navigating the site, everything just worked as expected which made for a pleasant overall experience.
There is no doubt that Elgg has tremendous potential from a Social Networking perspective. There are plenty of plugins to use for the system. There is even a hosted version of Elgg available on Elgg.com which allows you to bypass the entire installation process.
Modifying Elgg requires hand editing of the files from what we can tell, so you'll need an experienced developer but for most people who are looking to start a solid social networking site, this isn't an issue.
There are also quite a few good themes available for use from http://community.elgg.org/pg/plugins/category/themes to give you a good base to build from.
Elgg is a great system with a large community (perhaps the largest available when it comes to a social networking CMS) and is easy to customize. You can't really ask for much more than that.
Last but not least, should you wish to do so, the team at Curverider that developer Elgg are available for hire for customizations.
Check out Elgg at Elgg.org or if you want to experience it first hand without installing, join the Elgg community which is a live install with tons of active users and a great place to get familiar with the product: http://community.elgg.org/